MFA Now Available for All Community Users
Multi-factor authentication (MFA) is now available to all Pulsedive Community users.

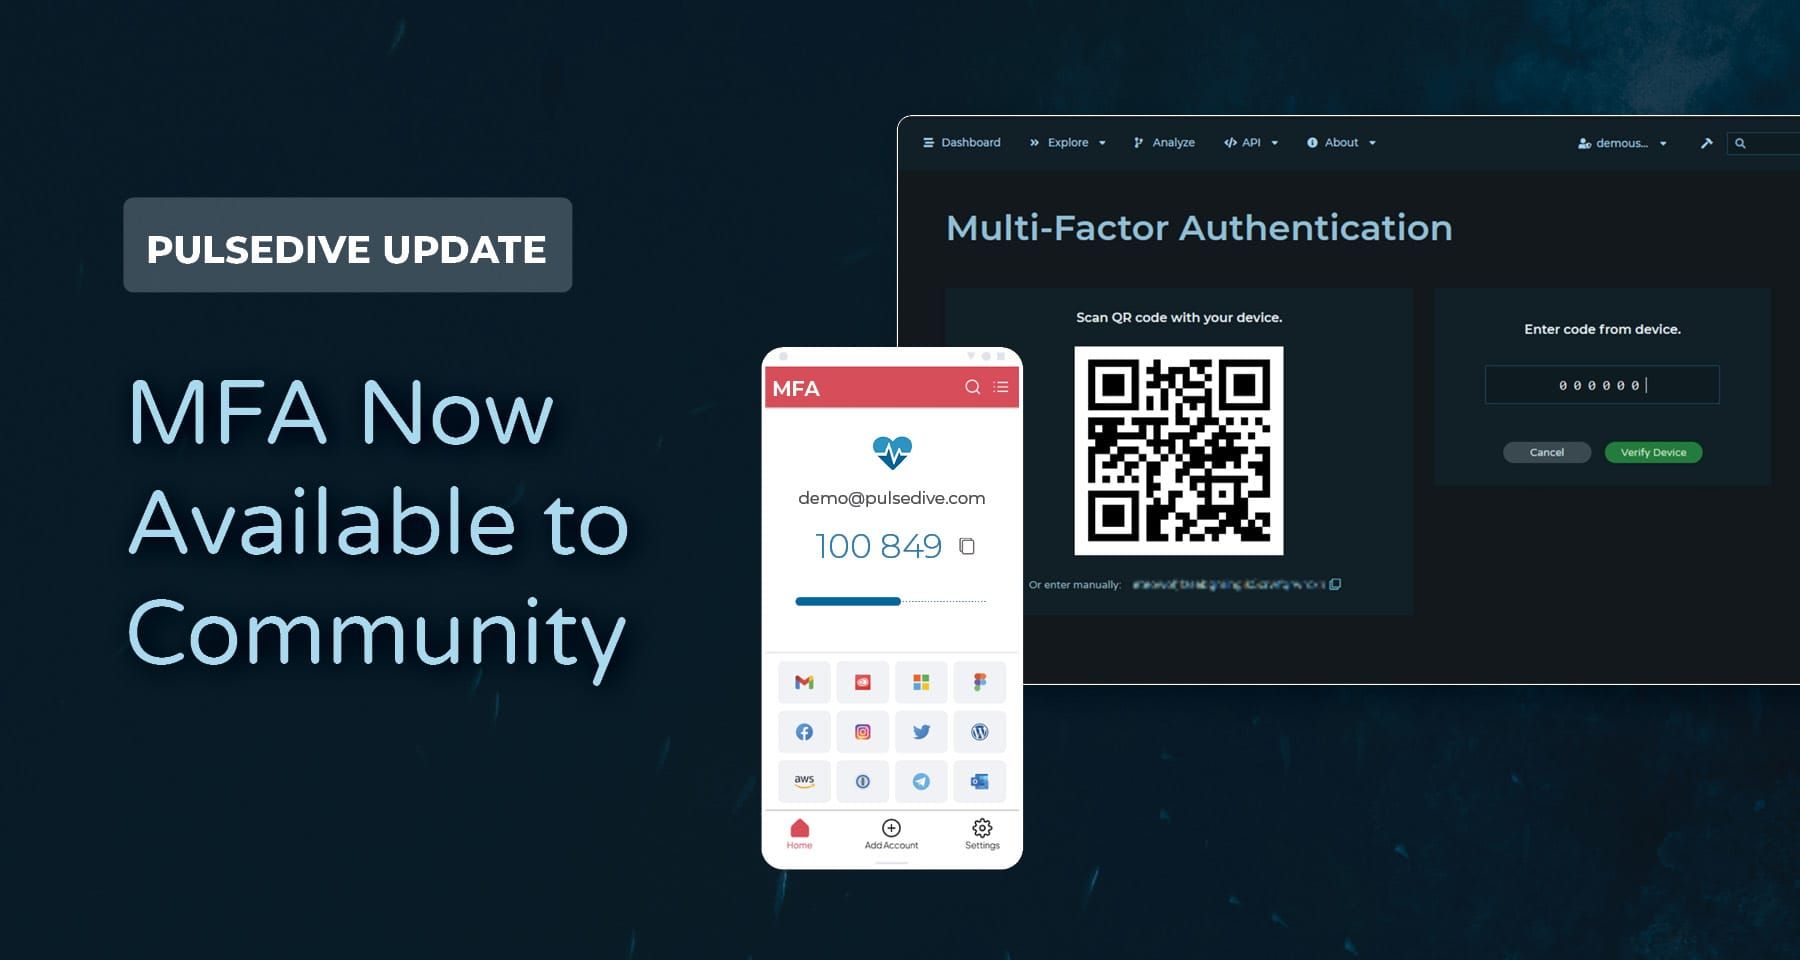
We are excited to announce that Multi-Factor Authentication (MFA) is now available for all Pulsedive Community users. With MFA, we provide an additional layer of protection to ensure the security of your account.
MFA
MFA is a security mechanism that requires users to provide two or more verification factors to gain access to their accounts. These factors typically include something the user knows (like a password) and something the user possesses (like a smartphone or hardware token).
At Pulsedive, we now offer app-based MFA for all user accounts. This includes free, Pro, API, and Feed users. Authentication apps like Authy, Duo, Google Authenticator, Okta Verify, Microsoft Authenticator, or similar to generate the secondary authentication code.
Enable MFA for Your Account
Here's a step-by-step guide on how to enable MFA for your account:
Navigate to Your Account Settings
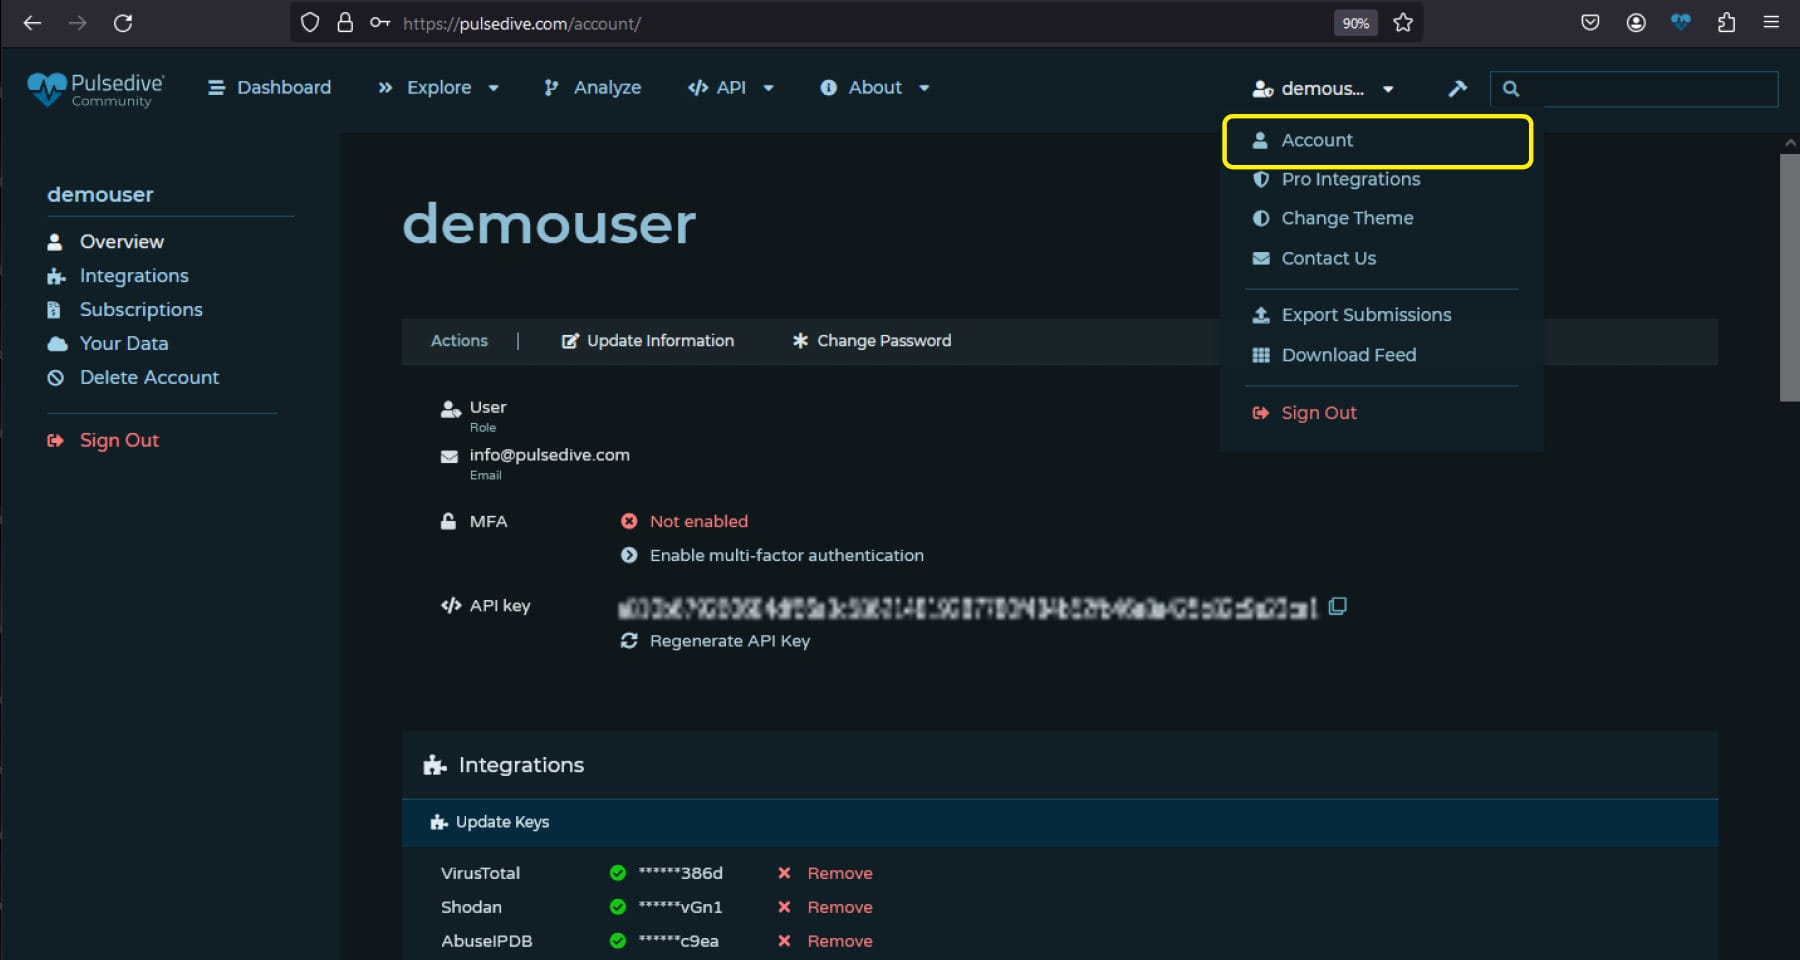
- Log in to your account on our platform.
- Go to the account settings from the top left dropdown menu.
Click Enable MFA
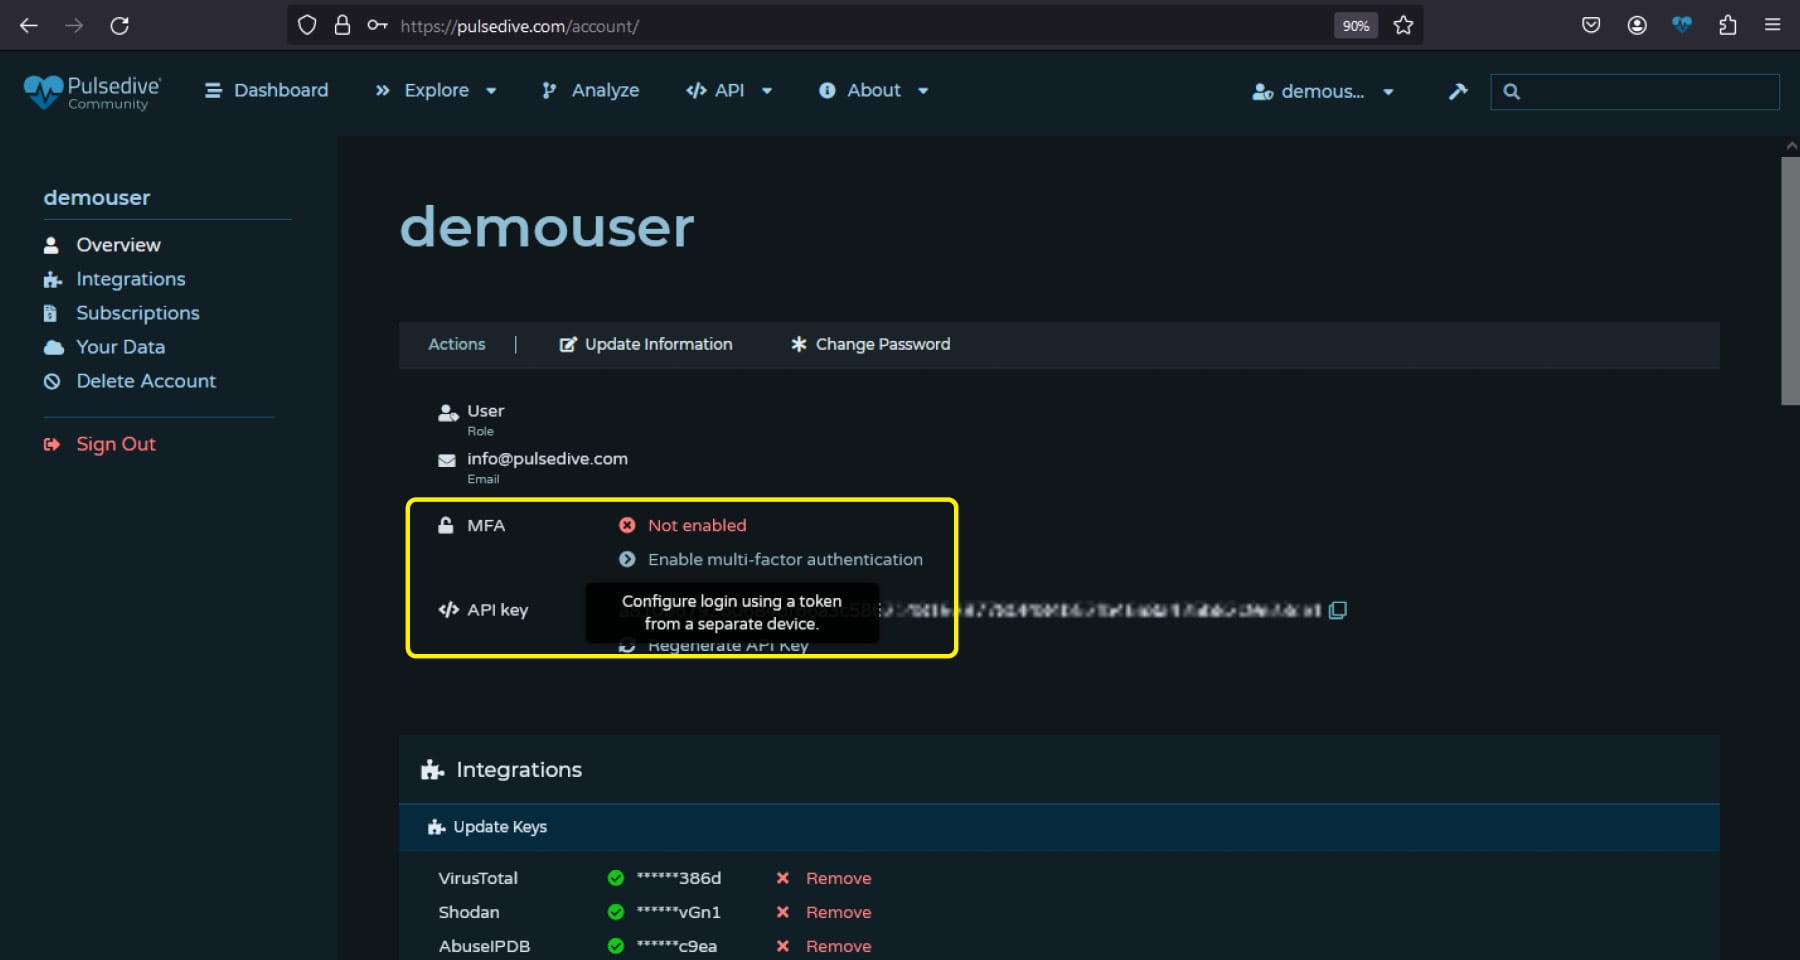
- Look for the MFA section within your account settings under your email and above your API key.
- Click on "Enable multi-factor authentication".
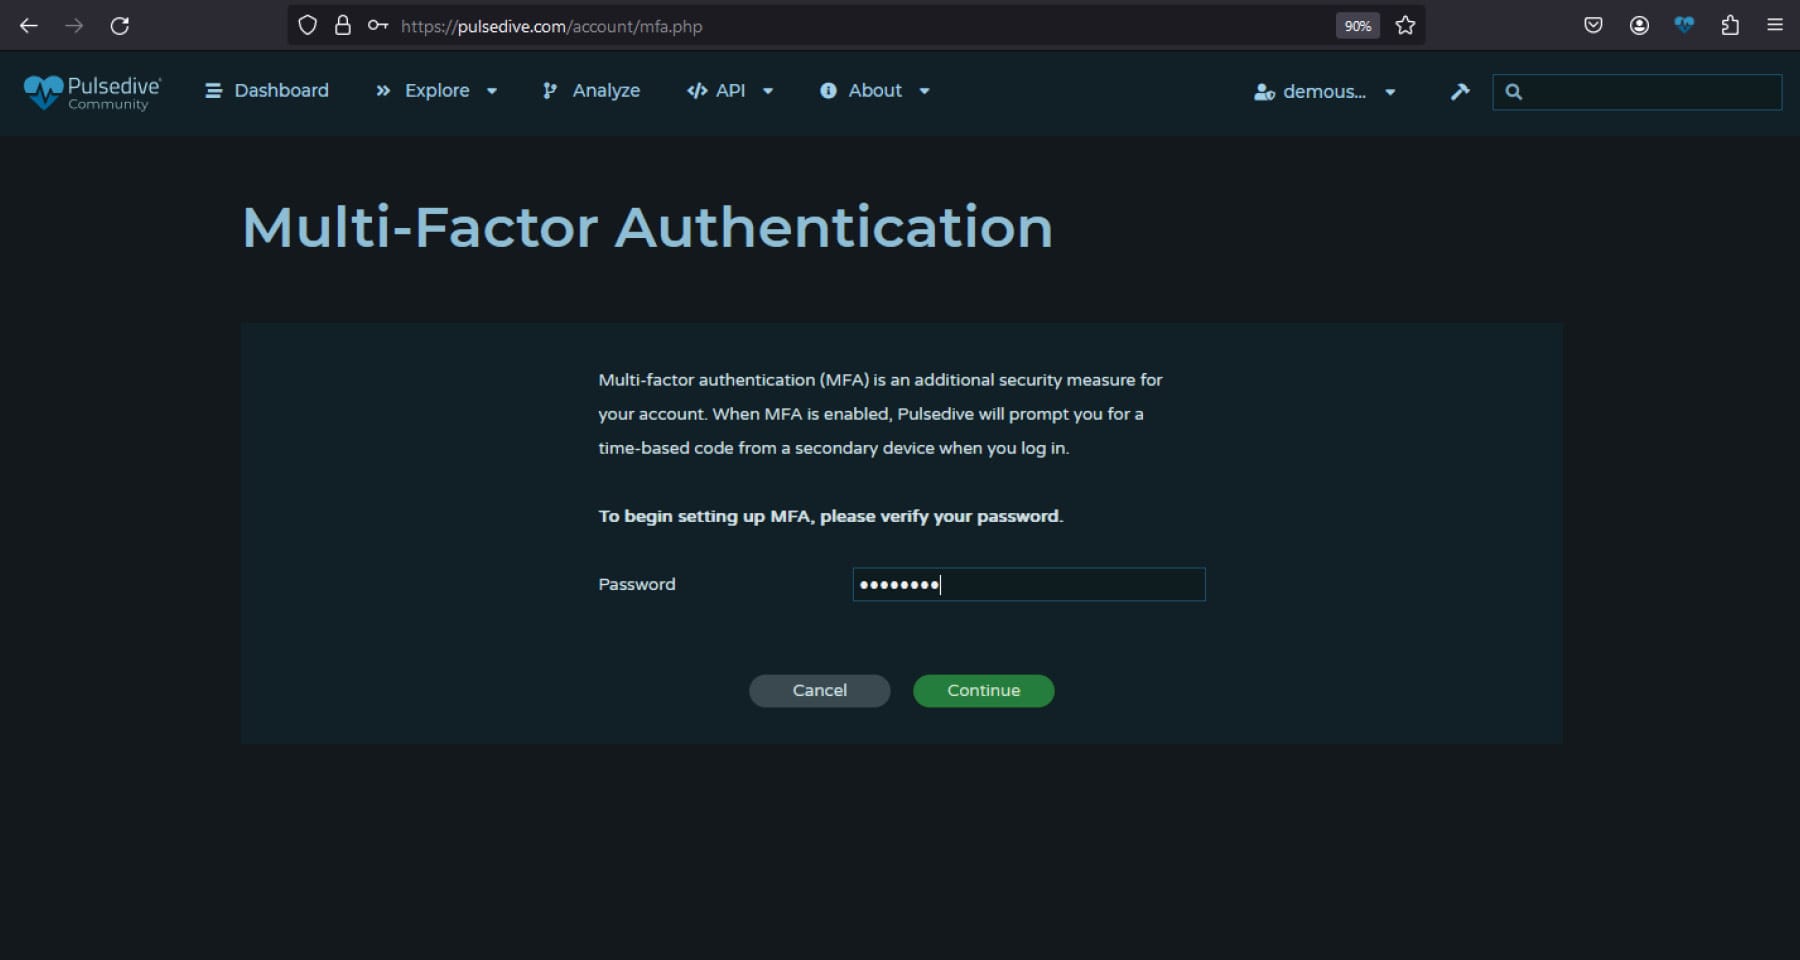
Re-enter Your Password
Scan QR Code or Enter Code Manually
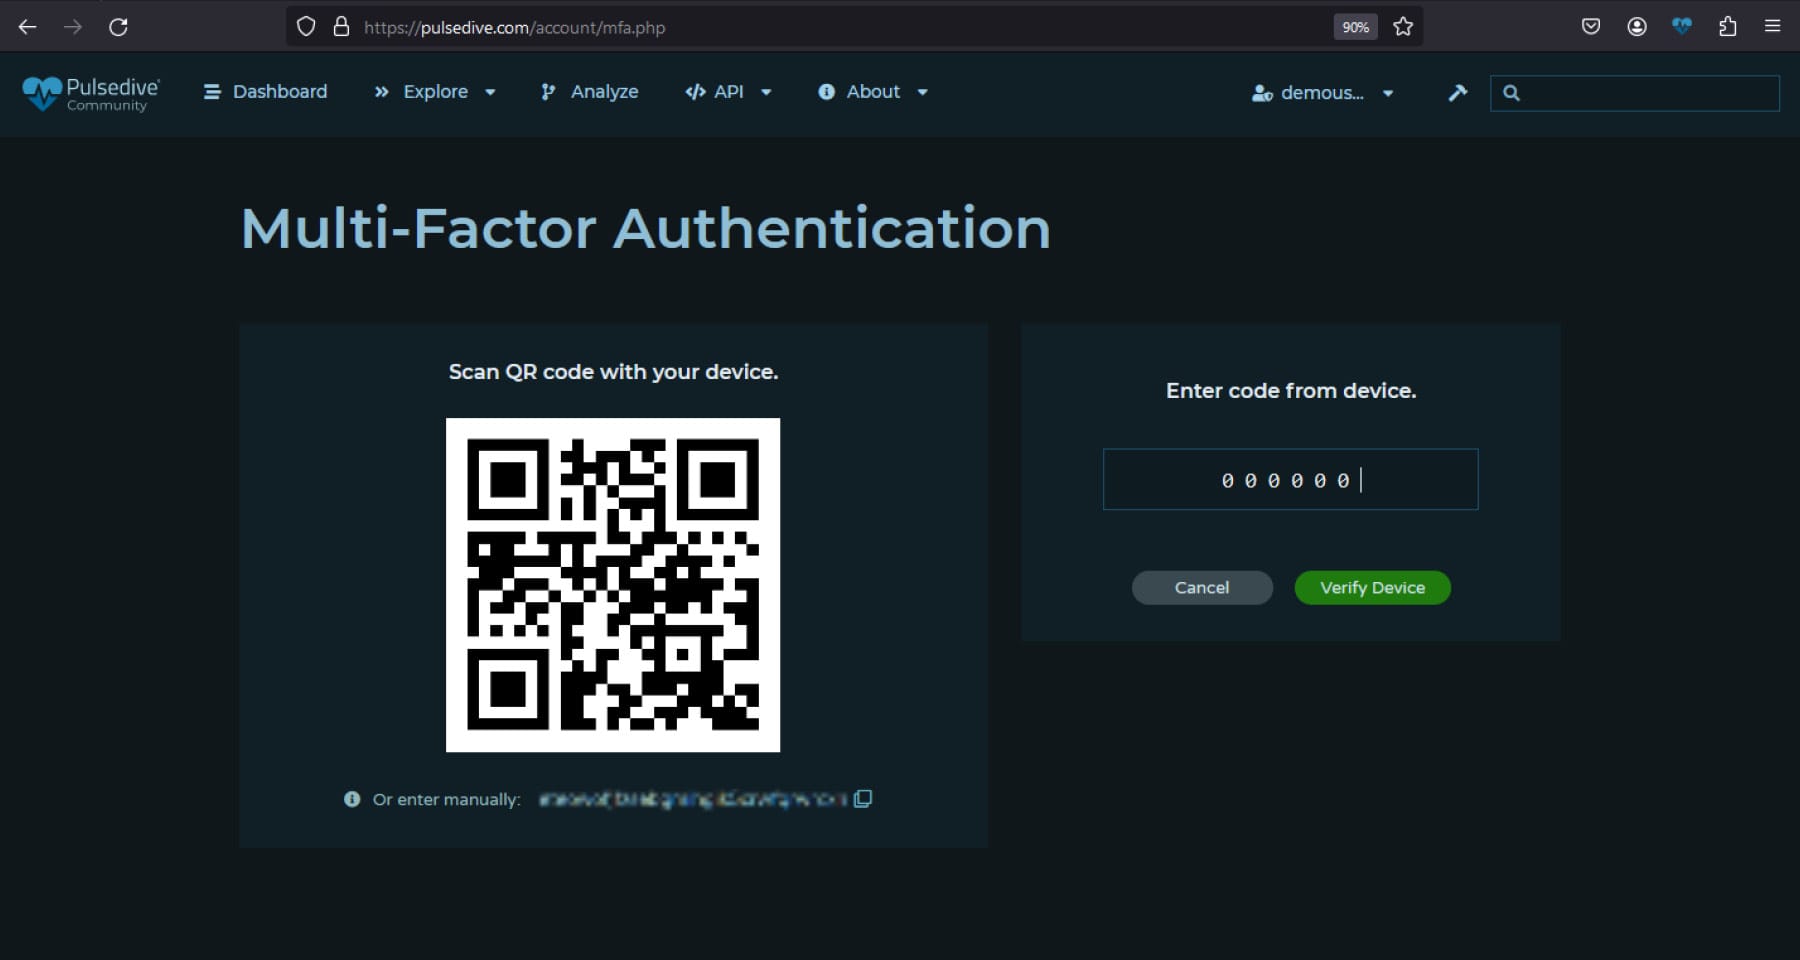
- Use your preferred authentication app to scan the QR code displayed on the screen. Popular app options include Authy, Duo, Google Authenticator, Okta Verify, Microsoft Authenticator, and others.
- Alternatively, you may manually enter the provided code below the QR code.
- Once the app is set up, enter the code to verify the device.
Save Backup Code
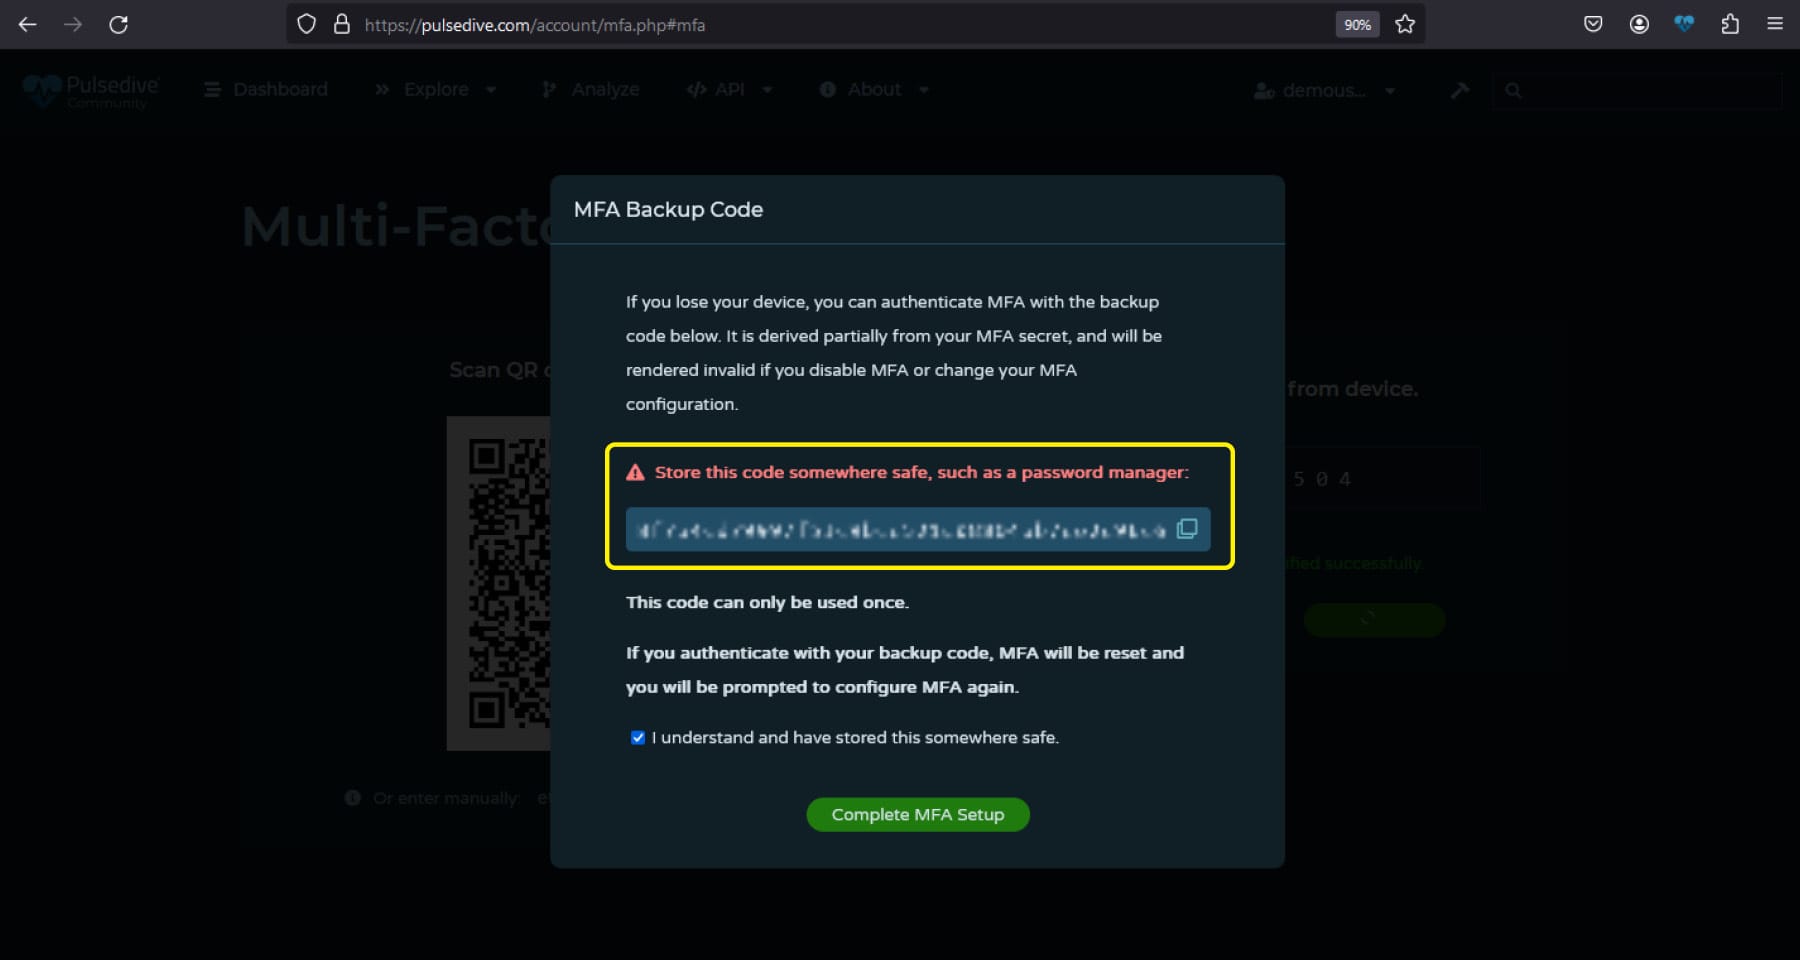
- Prior to completing set up, you will be provided with a backup code. It is crucial to securely save this backup code in a safe and accessible place.
- We recommend storing this code in a secure place, like a password manager.
Confirm MFA is Enabled
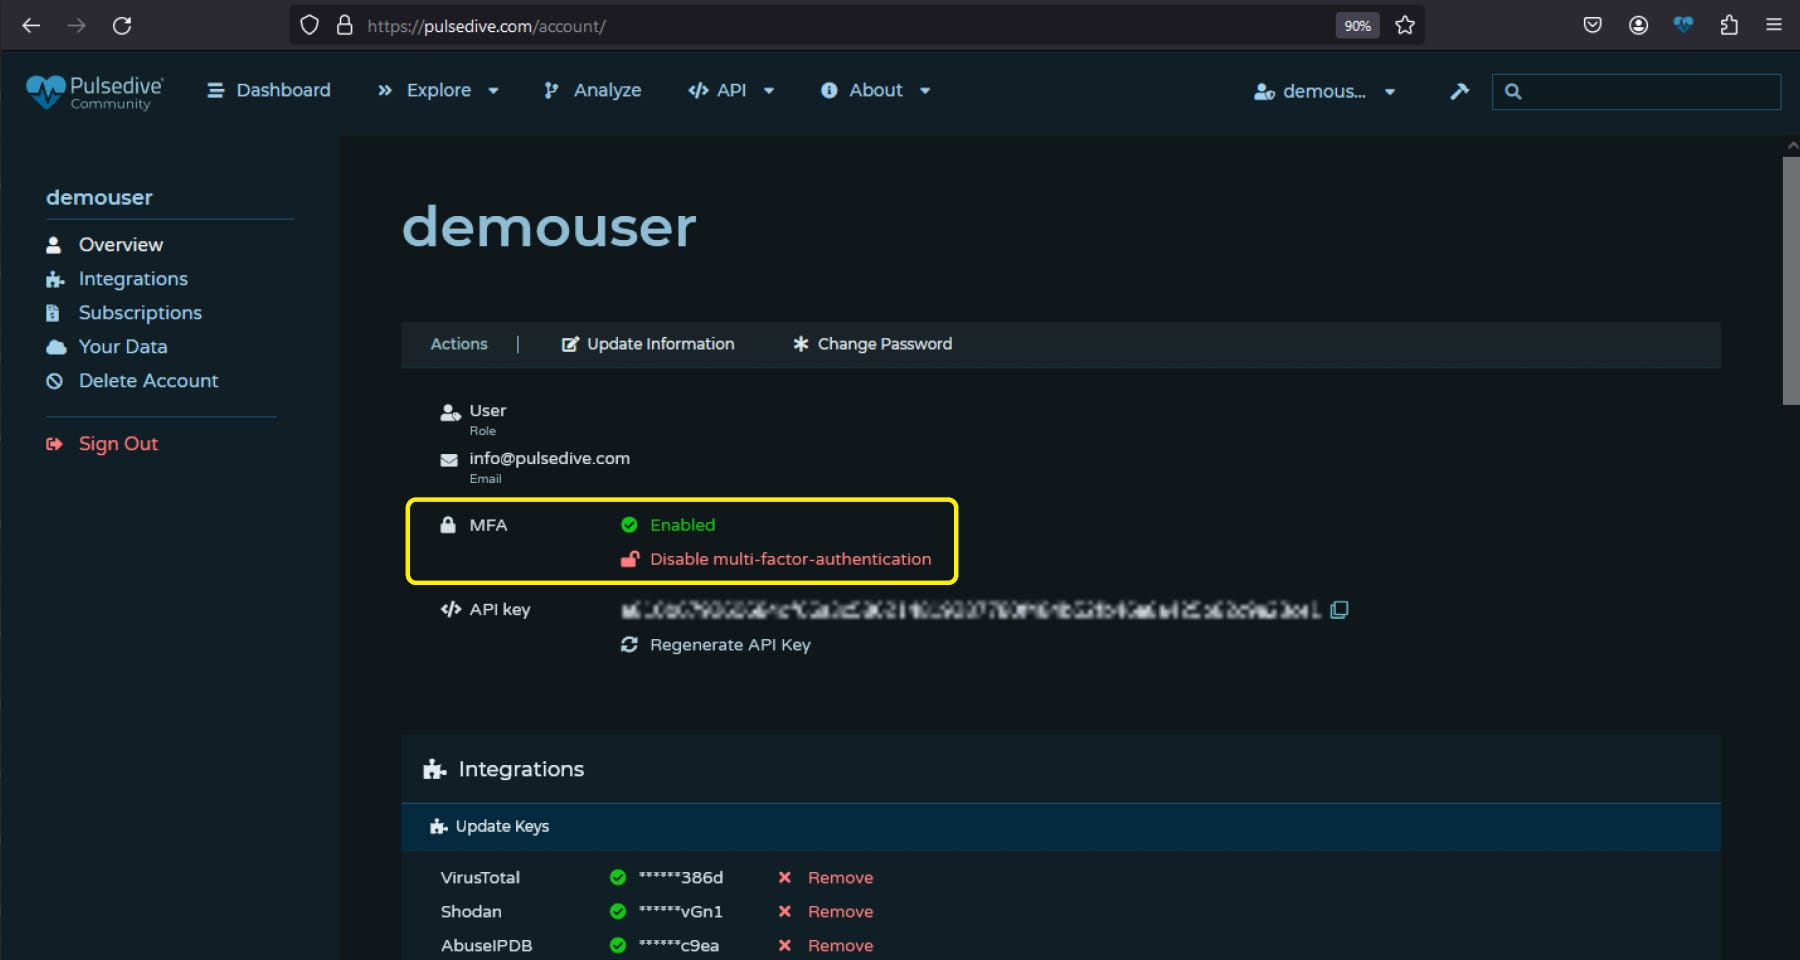
- Once you've completed the setup process, confirm that MFA is enabled on the account page.
- You can disable MFA at any time.
Login & Trusted Devices
After enabling MFA, here's how you can log in to your account:
Enter Credentials
Enter your username and password as usual.
Use Authentication Code
Open your authentication app to generate the secondary authentication code. Enter the code when prompted during the login process.
Trust the Device (Optional)
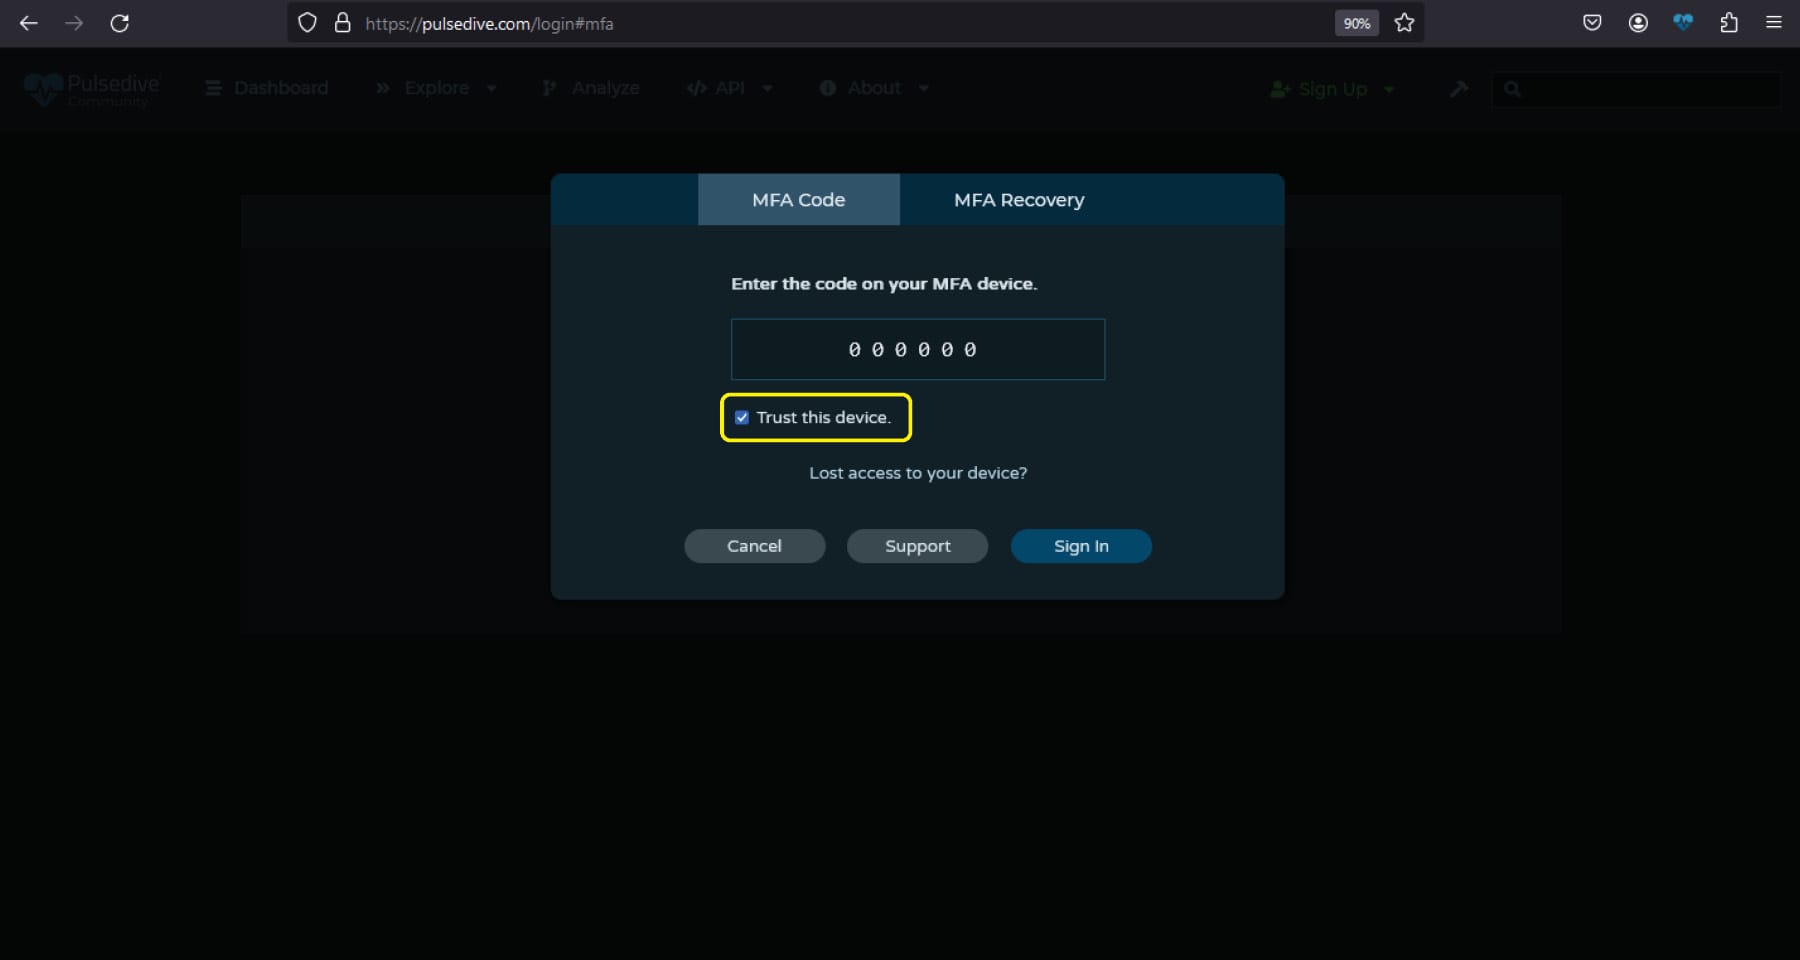
You may choose to "trust the device" you're using for future logins by ticking the box when entering your MFA code. This step helps streamline the authentication process for trusted devices.
MFA Recovery
In the event that you lose access to your authentication app, you can switch to the MFA Recovery tab when prompted for the code.
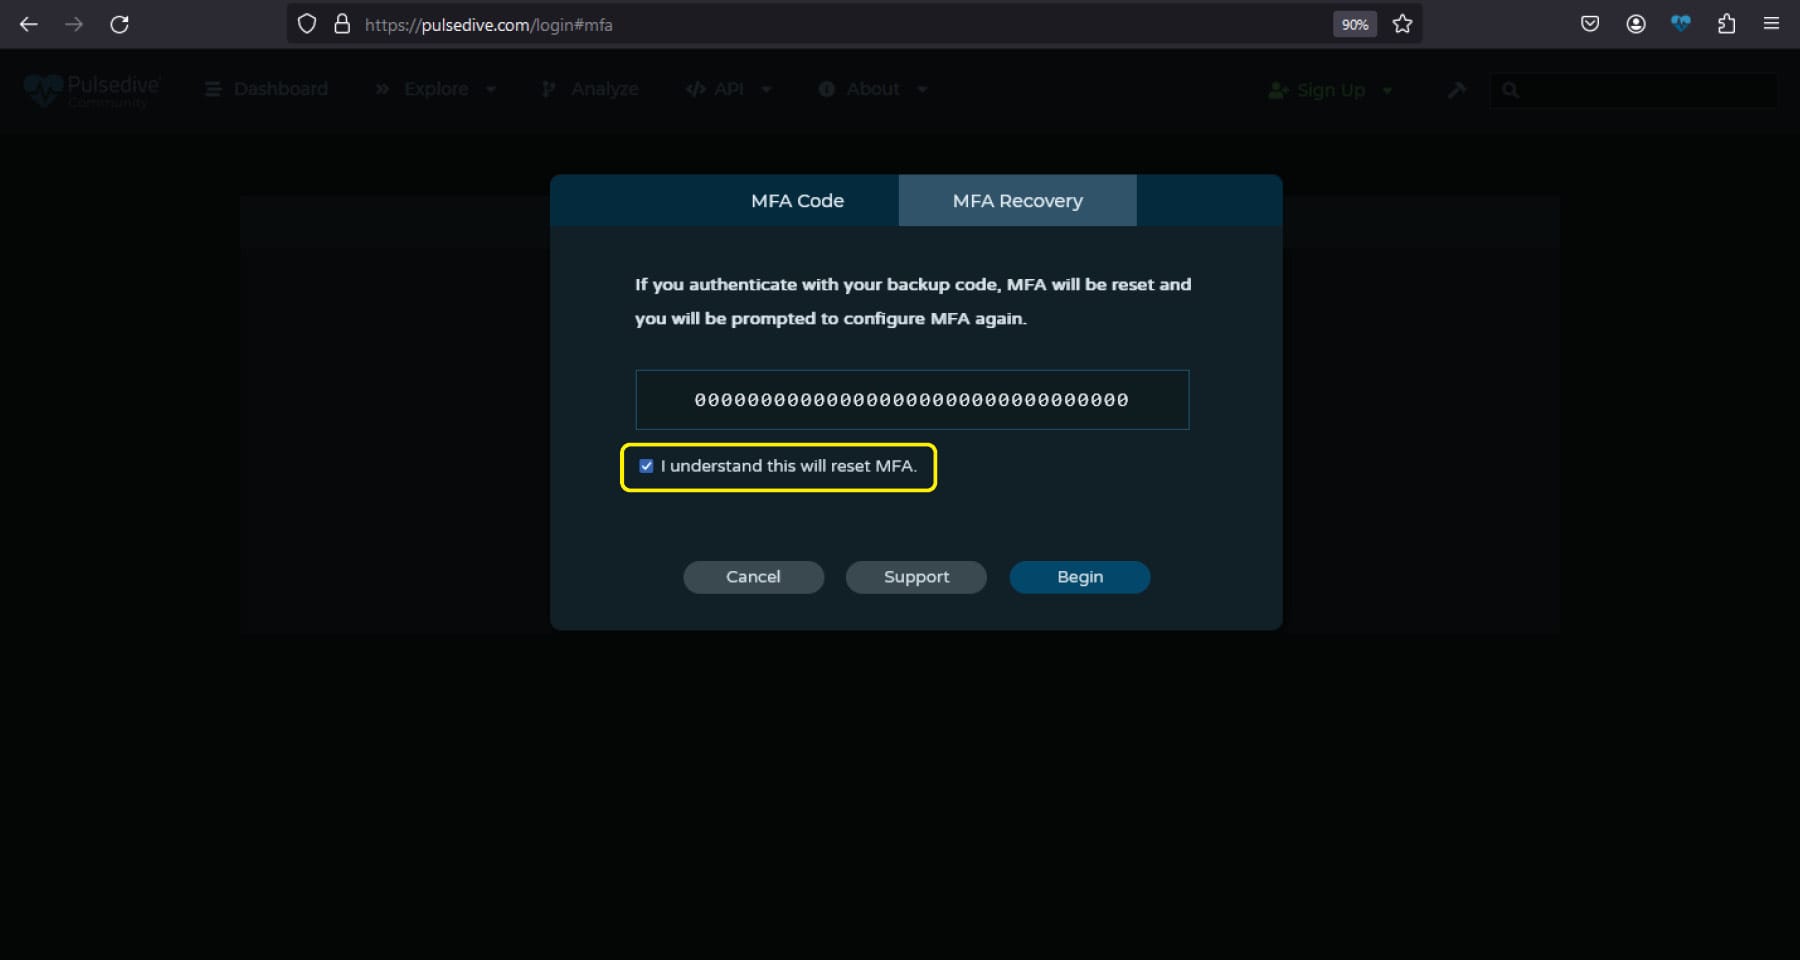
- Enter the backup code stored during setup.
- After entering the code, you will be prompted to set up MFA again.
- If you choose to exit without completing the MFA configuration again, MFA will be disabled. You can return to your account page any time to complete setup.
Final Notes
By implementing MFA, you can add an extra layer of protection and mitigate the risks associated with unauthorized access. We encourage all of our users to take advantage of this free feature. If you have any questions or feedback, please reach out to support@pulsedive.com.